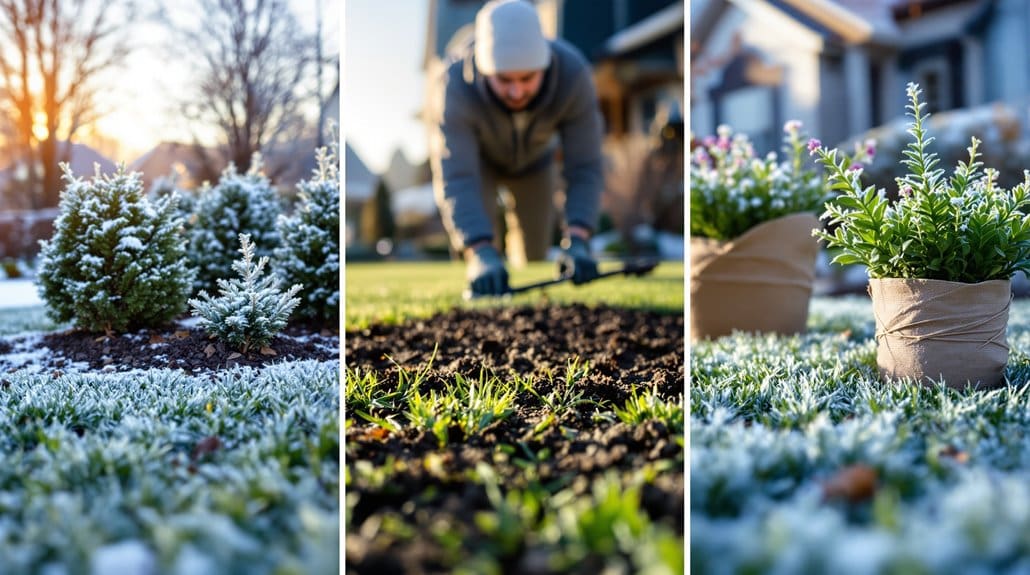
You’ve got an edge if you scout winter weeds now: walk likely seed highways like field edges and compacted lanes, learn rosette shapes (henbit’s scalloped opposite leaves, chickweed’s low pairs, annual bluegrass’s boat‑tip blades), probe roots to tell annuals from perennials, and flag hotspots with a GPS. Do spot sprays or hand‑dig moist taproots, use pre‑emergent where bare ground exceeds 20%, and repeat every 7–14 days; keep notes, because next steps cover timing and tools.
Some Key Points
- Scout high‑risk edges, paths, and low spots in late fall to find winter annuals before they set seed.
- Use boots‑on transects and 1 ft² quadrats every 10 feet to quantify infestation density and prioritize treatment.
- Identify rosette vs bolting stages and root types (fibrous vs taproot) to choose pre‑emergent, spot‑spray, or digging.
- Monitor soil and air cues (day temps 40–60°F, soil >50°F) and scout every 7–14 days to time control applications.
- Map GPS waypoints, take timestamped photos, and flag patches with seedheads ≥30% for immediate action to stop seedbank input.
What Winter Weeds Look Like in the Early Flush (Visual ID Checklist)

If you want to catch winter weeds early, start by looking closely at low mats and rosettes now, because that’s when identification saves you a lot of back-and-forth later. Step 1: Scan for winter annual weeds that form mats, like henbit, with square, sometimes reddish stems and scalloped opposite leaves, plus little tubular purple flowers. Step 2: Check for chickweed’s sprawling pairs of lance-shaped leaves and tiny white five-petaled flowers, which can smother turf—oops, seen that. Now, we may regard annual bluegrass, which shows bright green tufts, folded, boat-shaped tips, and tiny seedheads even in cool weather. Something to contemplate: learn a simple visual id checklist for winter annuals, bring friends into lawn care, and practice together. Also remember that using natural weed control methods and proper lawn care can reduce weed problems over time.
Where to Scout First: High‑Risk Zones and Soil Clues
Step 1 — scan field edges and gateways first, because those high-traffic margins and gateways act like seed highways where henbit and chickweed get a toe-hold, so check them before you wander into the middle. Now, we may contemplate low spots and compacted patches next, they hold moisture and warmth that coax winter annuals up fast, and yes, I’ve ignored a sunken corner only to regret it later. Something to contemplate: probe soil moisture and temperature where the ground’s hard or depressed, act while seedlings are small, not after they’ve set a seedbank. Also keep an eye on nearby driveways and paths where high traffic wear encourages bare soil and weed establishment.
Field Edges And Gateways
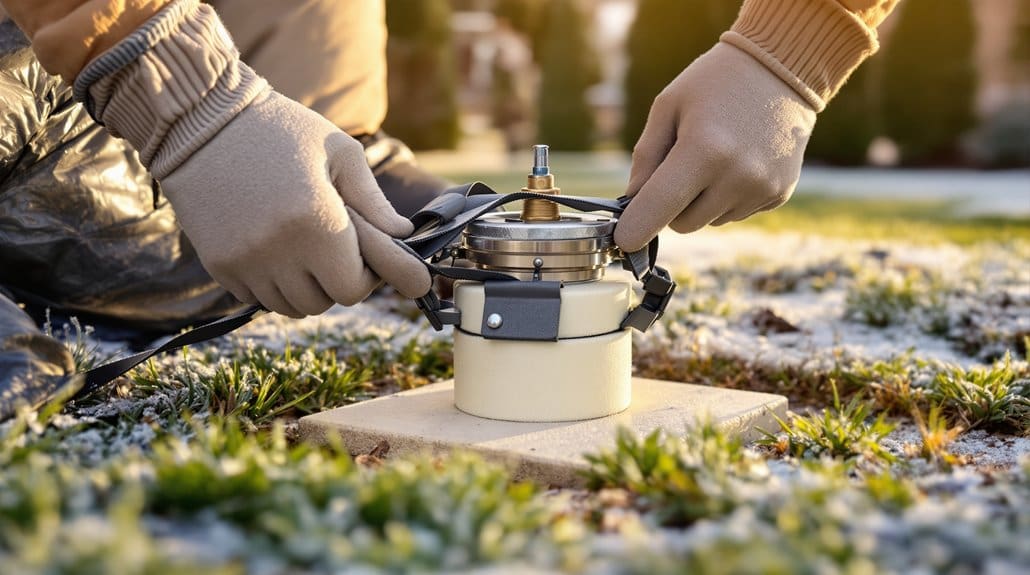
Because field edges and gateways are magnets for seed and moisture, you’ll want to start your scouting there, walking the perimeter first and checking the obvious hotspots before anything else. Step 1 — walk slowly, scan for winter annuals like henbit and chickweed, note where seedbank exposure looks high, and don’t skip shifts from turf to field. Now, we may contemplate soil clues: moist microsites at gateways, shaded ditch lines, and disturbed wheel ruts will light up with seedlings. Something to contemplate — sample growth stages at several points so early scouting tells you whether to use pre-emergent or spot post-emergent tactics. Do this, not that: map and treat hotspots now, or pay with a bigger cleanup later. Consider keeping essential tools like a soil probe and sprayer on hand for routine maintenance and targeted treatments sprinkler system maintenance.
Low Spots And Compaction
When you walk the field, don’t bypass the low spots and compacted lanes — they’re the places winter annuals love and where you’ll usually find trouble first. Step one, scout those depressions after rain, because low spots hold runoff and create moist microsites that boost seed germination; you’ll see darker green patches where perched water lets weeds get a head start. Now, we may regard soil compaction: probe traffic lanes with a screwdriver, if you meet strong resistance it’s often tied to thin turf and more henbit or chickweed. Something to mull over — prioritize spot-treatment in these zones, do it early, and don’t just blame the weather. You’ve likely missed one before; learn, act, prevent seedbank growth. Also, make sure you have essential gear like a quality irrigation tool and a reliable spreader for regular maintenance and spot treatments to keep these problem areas under control, such as an irrigation tool.
When to Scout: Timing Windows by Region and Temperature Cues

If you want to get ahead of winter annuals, start scouting now and do it with a plan, not just hope and a calendar. Step 1: begin boots-on scouting in late fall to early winter, or now if you’re in North Texas or Middle Tennessee, so you catch seedlings and rosette stage plants before they bolt. Now, use soil temperature and air cues—when daytime temps regularly hit about 40–60°F and soils warm above ~50°F, weeds germinate and herbicides work better. Step 2: scout field-by-field, record species, growth stage and density, then time pre-emergent herbicides in late fall/early winter or plan post-emergent or burn down herbicide application in early spring. Something worth weighing: don’t wait. Also consider matching your weed control tools to site needs and timing, including selecting appropriate lawn care equipment and products to make applications more effective.
Simple Tools and Techniques for Boots‑On Scouting
Now, here's what to do: scout early and often, walking fields on warm days to catch winter annuals before they set seed, and don't repeat my mistake of waiting until sprouts hide in the frost. Carry a simple ID kit — a hand lens, a cheat-sheet of rosette vs. bolting stages, and a GPS‑tagged phone to photograph and geotag patches — because accurate ID and photos make targeted control way easier than guesses later. Something to ponder: use a 1 m² quadrat or a 15‑step transect in multiple spots to estimate counts and map hotspots, then act on those mapped findings rather than spraying blind. Consider bringing lightweight lawn care gear like a core aerator for small test plots to better assess soil compaction and root health.
Scout Early And Often
You’ll want to get your boots on the ground early and often, because catching henbit, chickweed, and annual bluegrass while they’re small makes control a lot easier and cheaper than chasing big, seeding patches later. Step 1 — Winter scout: walk a scouting grid every 30–50 paces, note winter annuals, density, and growth stage, and mark trouble spots. Step 2 — quantify: use a 1 m² quadrat at intervals to count weeds per square meter, track hotspots, and avoid guessing. Now, we may contemplate resistance: flag and GPS suspect patches, collect samples for testing. Something to ponder — repeat every 7–14 days so you time burndown herbicide application when plants are active. Don’t wait; do this, not hope. Also, keep your tools and blades in top condition with regular sharpening to make follow-up cleanup and spot treatments more efficient and safer (sharpening stones).
Carry Basic Identification Tools
Carry a few simple tools and you’ll stop guessing and start acting with confidence during those cold-season walks. Step 1 — grab a hand lens (10–20x) and a pocket plant guide, you'll finally see square stems on henbit or tiny hooked seed hairs on chickweed, so you stop mislabeling things like I used to. Step 2 — note surface temps with a soil thermometer, many winter annuals, including annual bluegrass, kick in around 40–50°F, so timing matters. Step 3 — use a weed checklist on a clipboard or phone, mark density and growth stage, then dig with a trowel to check roots, annual or perennial? Something to contemplate: flagging tape marks problem patches for rechecks. Do this, not guess.
Map Findings For Action
When you walk the field, mark where trouble hides so you can come back and act, not guess; I used to wander, swear I’d remember a patch, and then—surprise—lost time and spread weeds instead. Step 1 — record GPS waypoints as you find hotspots, add a scouting form entry with weed species, percent cover and growth stage, so your team feels included and clear. Step 2 — take a timestamped photo, estimate patch size, and write notes, that helps decide spot treatment versus burndown or whole-field work. Now, map those points onto a satellite image or app for simple field mapping, track changes, and flag suspected resistance for lab checks and resistance management planning before planting. Something to ponder: don’t skip this.
How to Tell Annuals From Perennials and Why It Matters
Start by looking closely at how the plant survives the seasons, because that tells you whether you’ll need to stop a single generation of seed or chase stubborn roots for years. Step 1: check root structure and behavior—annual winter weeds like henbit or chickweed have fibrous roots, they die after you remove them, and they refill the seedbank unless you prevent seed production; perennial winter weeds keep bulbs, taproots or rhizomes and will come back. Now, timing of control matters: use pre-emergent herbicides in late fall to block annual germination, but for perennials, plan repeated digging or targeted systemic herbicides to deplete reserves. Something to keep in mind: don’t waste pre-emergents on established perennials, it’s a common, costly mistake.
Quick On‑Site Tests to Assess Infestation Size and Seed Risk
For a quick, on-site reality check, you’ll want to move beyond guessing and actually measure what you’re facing, because knowing plant counts, seedheads, root depth, and bare ground will tell you whether to yank, spray, or reseed. Step 1: walk a 100-foot transect, drop a 1-ft² quadrat every 10 feet, count winter weed plants, and note infestation density—over 10 plants/ft² means plan treatment. Step 2: check 10 random patches for seedheads; if ≥30% show seeds, act fast to stop seedbank inputs. Step 3: dig five weeds, measure root depth—taproots over 4 inches need more than a quick tug. Step 4: score percent bare ground in five spots; >20% argues for pre-emergent or overseeding. Something to keep in mind: bag clippings.
Immediate Control Choices After Scouting: Pre‑Emergent, Spot Spray, Pull
You’ve done the hard work of walking transects and digging roots, so now it’s time to pick a clear, practical move and stick with it — not everything needs a spray, and pulling every plant is the fastest way to wear out your knees. Step 1 — prevent: apply a pre-emergent herbicide in late fall to create a soil barrier that blocks winter annuals, been there, wish I’d done it sooner. Step 2 — treat small patches: for actively growing weeds use a labeled post-emergent spot spray on mild days, do targeted swipes, not blanket coverage. Step 3 — remove: hand-pull or dig deep perennials when soil’s moist to cut regrowth and seed set. Scouting tells you which move wins.
How Scouting Data Guides Spring Plans: Herbicide Timing, Seeding, and Follow‑Up

When you get back out there in late winter, let your notes lead the plan — don’t guess. Step 1: review scouting maps, spot winter annuals in the rosette or seedling stage, and mark likely burndown zones so you hit small, actively growing weeds when temps allow good uptake. Step 2: flag herbicide resistance suspects, choose alternate actives or tank‑mix partners, don’t rely on the old single herbicide we swore by once. Now, we may contemplate pre‑emergent where maps show bare ground, and plan residual control to protect seedling establishment. Something to ponder: monitor, retake scouting 7–14 days post application, flag escapes for spot treatment, update seeding or cultural plans as needed. Post‑treatment monitoring is nonnegotiable.
Some Questions Answered
What Happens if You Put Pre-Emergent Down Too Early?
If you put pre-emergent down too early, you’ll face timing mistakes that cause reduced efficacy, as herbicide breakdown and rainfall variability eat away protection before seeds break dormancy. Now, we may ponder this: soil disturbance or tillage can expose seeds despite treatment. Something to reflect on: avoid repeated applications that stress turf, scout late, and spot-treat survivors—do this, not that—learn from past slip-ups, and adjust timing next season.
How to Get Rid of Weeds Before Spring?
Do this now: start with soil solarization or mulch application to smother seeds, and time pre-emergents for herbicide timing—late fall, not too early. Now, we may contemplate manual removal and hand-pulling, with tool sanitation after each use. Spot-treat stubborn patches, try organic solutions if you want, and use edging barriers, cover crops, and proper turf care. Something to ponder: repeat pulls, bag clippings, don’t skip follow-up.
Is It Worth Weeding in the Fall?
Yes — it’s worth it. Like planting a flag before winter, you’ll prep soil prep, check root depth, and interrupt the weed lifecycle so seedlings don’t seed. Now, we may contemplate timing: fall lawn timing suits pre-emergent work, plus manual removal for survivors, mulch benefits to smother sprouts, and herbicide safety if you use products correctly. Something to contemplate: you’ll save time in spring, honest mistakes included, you’ll feel proud.
What Is a Pre-Emergent for Winter Weeds?
A pre-emergent for winter weeds is a seed treatment herbicide you apply before seed dormancy breaks, timed by soil temperature so it hits germination, not established plants. Use products with active ingredients like prodiamine, check application rates, and aim during lawn dormancy or just before it ends. Now, we may ponder organic options if you’re wary, but something to ponder: they’re less residual. Do this, not that—apply evenly, don’t disturb.