Your compost doesn’t stop working in winter, it just slows: microbes and cold-tolerant fungi keep nibbling in an insulated core, tiny critters hang out in unfrozen pockets, and a well-sized pile can stay warm inside. Now, do this: keep piles about 3×3×3 ft or larger, add thin green layers, cover with 6–12 inches of leaves or a tarp, and don’t flip a frozen core. Something to keep in mind: proper insulation beats frantic turning, and there’s more practical winter advice ahead.
Some Key Takeaways
- Decomposition slows as temperatures fall but continues above freezing; microbes and small critters keep working at reduced rates.
- If the pile’s core freezes solid, biological breakdown effectively halts until it thaws.
- Larger, insulated piles (≈3×3×3 ft or bigger) retain heat and remain active longer through winter.
- Add thin layers of greens covered by 4–6 inches of browns and insulate the top to sustain activity without turning.
- Avoid flipping frozen piles; instead harvest finished compost and wait for thaw before disturbing partially frozen material.
Does Decomposition Actually Stop When Compost Freezes?
Does decomposition actually stop when compost freezes? You’ll find that in your compost pile, decomposition slows as temperatures fall, but it doesn’t stop until the material itself is freezing solid. Now, we may regard this: microbes and little soil fauna keep working at reduced rates above 32°F, so don’t assume everything’s paused. Something to ponder, if the core freezes, biological breakdown effectively halts until thaw, so do this, not that: don’t ignore insulation or turning if you want steady progress. I’ve let piles sit and learned the hard way, yes, but you can prevent a full freeze with simple steps. Keep in mind cold composting won’t kill many seeds, so plan accordingly. For regular homeowners, choosing the right bin and insulation methods can help maintain decomposition through winter.
How Pile Size and Insulation Keep the Interior Warm
Think of your compost pile as a little furnace you build and tend: if you keep it roughly 3×3×3 feet (bigger is better, five feet on a side if you can) and wrap at least 6–12 inches of insulating material like leaves, straw, or wood chips around the sides, the core will hold heat and resist freezing even when the air’s well below 32°F. You’ll want a large compost pile that’s well insulated so it can retain heat, not a tiny heap that chills fast. Now, we may regard this: cover with a tarp or thick browns to cut drafts, don’t turn it often or you dump heat. Something to ponder—yes, you might’ve flipped too much before—so resist the urge; let the insulated core do its work. For homeowners maintaining their property, having the right tools and supplies like a sturdy bin and quality turning fork helps keep that compost system working efficiently.
What Microbes and Critters Keep Working Under Snow?
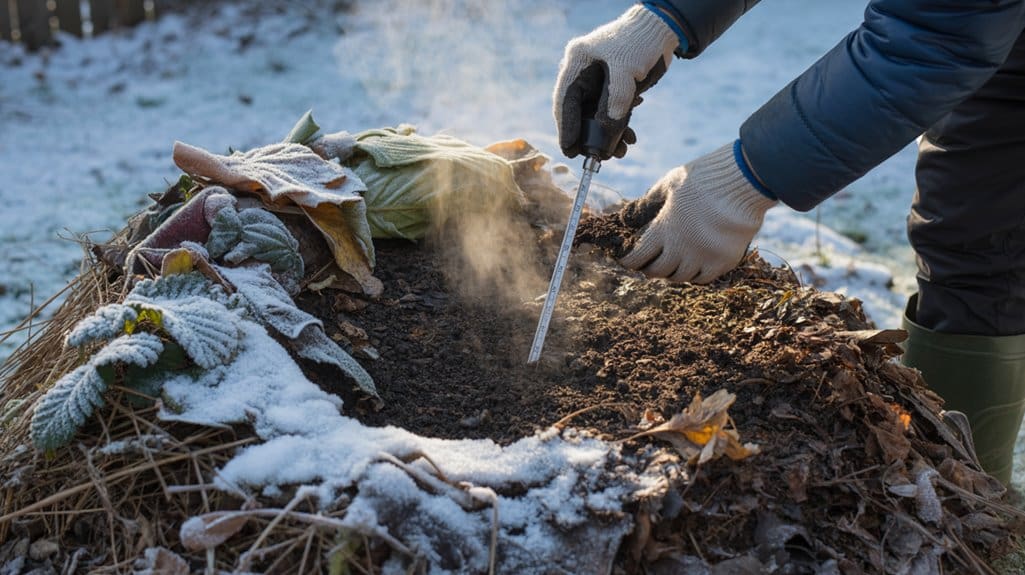
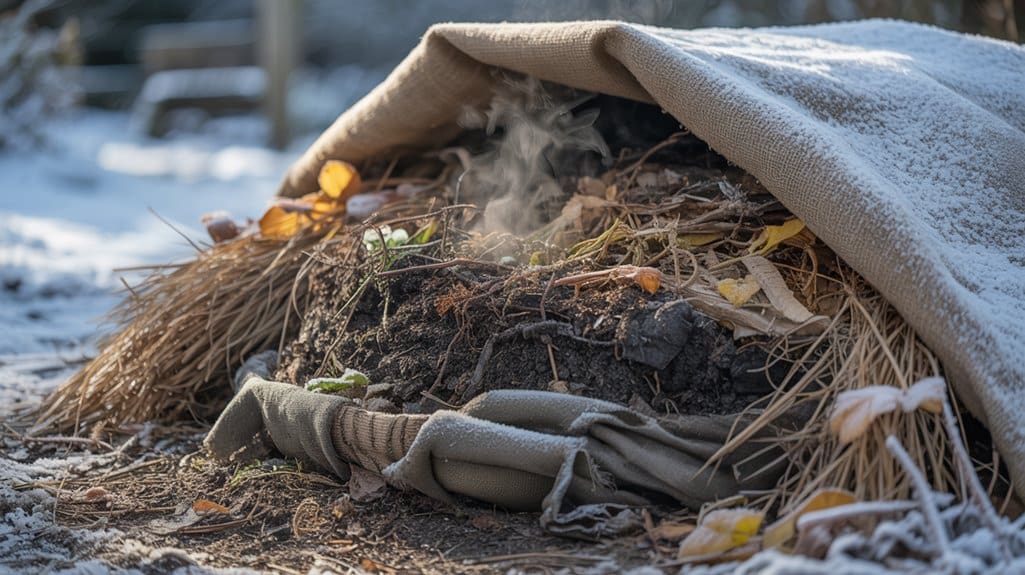
Now that you've got the pile sized and wrapped to hold heat, turn your attention to the tiny workers that keep breaking down material even under snow. You’ll find psychrophilic bacteria and cold-tolerant fungi still chewing on carbon near freezing, slower but steady, and that’s okay — don’t panic like I did the first winter. Now, we may contemplate this: in an insulated core, mesophiles hang on too, while thermophiles retreat. Soil critters like earthworms, sowbugs, pillbugs persist in unfrozen pockets, fragmenting material and aerating the pile. Something to contemplate. Steam rising? Good sign. It means microbes are at work, not a bonfire. So keep the core insulated, trust the tiny crew, and resist poking and turning too often. For homeowners maintaining their property, keeping tools sharp and functional helps manage yard waste efficiently, which complements proper compost care and lawn care equipment choices.
Quick Winter Steps to Keep Breakdown Going (Add, Layer, Shred)
Start by adding a fresh 2–4 inch layer of “greens” — kitchen scraps or fresh grass clippings — but don’t stop there; immediately cover them with 4–6 inches of shredded leaves or other browns so the pile’s carbon:nrogen balance hovers near the good 25–30:1 range for microbes to keep chewing. Step 1: add and layer in 1–3 inch lifts, not big clumps, and shred leaves and veggie scraps so microbes have more surface to work. Now, we may contemplate pile size: aim for about 3×3×3 ft or larger so the compost pile core holds heat, and if you’re smaller, surround it to help. Something to ponder: top new deposits with a 6–12 inch insulating blanket, but don’t turn in deep winter; lightly aerate edges instead. For homeowners, having basic tools like a pitchfork and shredder on hand makes maintaining that ideal pile size and layering much easier, especially when preparing materials for winter composters.
Insulation and Placement Tricks: Tarps, Leaves, Straw, and Bin Wraps
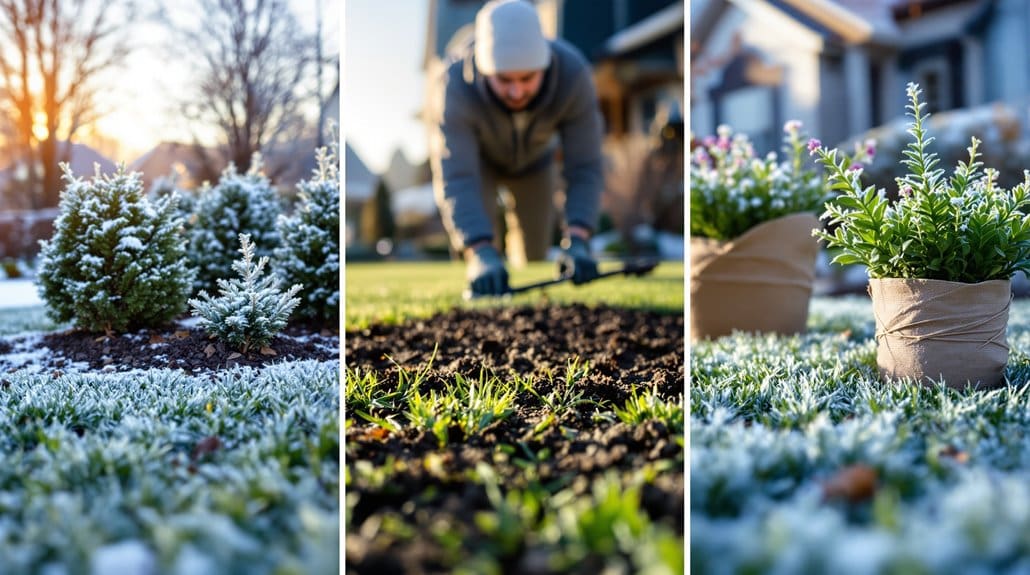
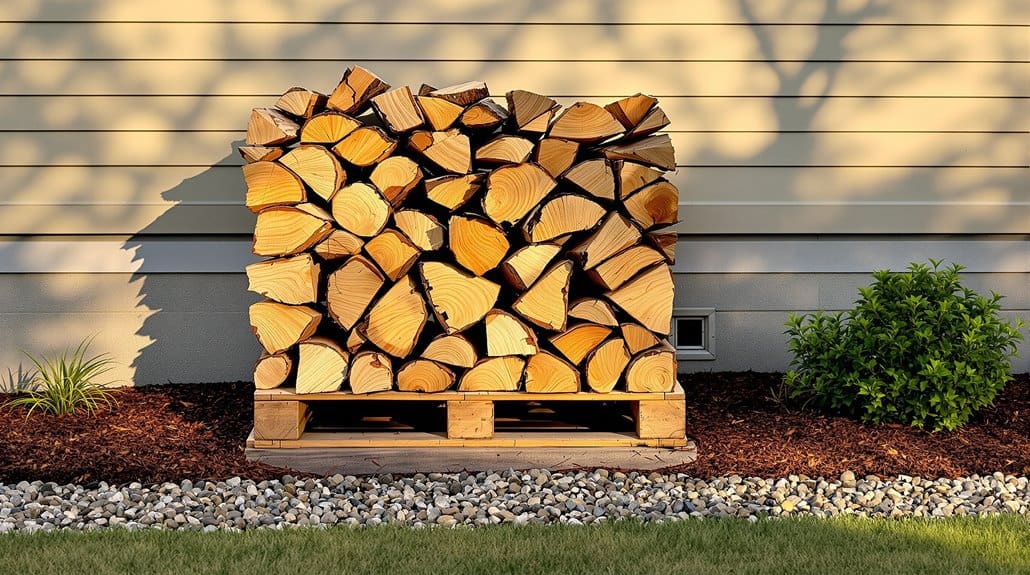
If you want your winter pile to keep cooking instead of turning into a frozen brick, wrap and sit it right—tarps, loose leaves, straw bales, and breathable bin wraps all help, but they’re not interchangeable, so use each where it makes sense. Heading: Cover smart. Do this: drape a tarp loosely to cut wind-driven heat loss, but don’t seal it tight or you’ll trap water and go anaerobic. Now, we may think about this: add 6–12 inches of loose leaves or fresh straw on top for extra insulation and carbon, it also saves you a late-winter scramble. Something to weigh: surround bins with straw bales or leaf-filled bags to raise R-value. Wrap rigid bins with breathable burlap-style insulation, not plastic. Here’s what to do now: ring the inside with chips to buffer moisture and slow freezing. For best results, match your insulating materials to the size and type of bin to maintain consistent temperatures through winter.
When Not to Turn and When to Harvest Finished Compost
Now, here’s what to do: don’t open or turn a winter pile unless its core is staying above freezing, because letting out that trapped heat will slow microbes and you’ll regret it come spring. If you need space in a small bin, take out only fully finished, dark crumbly compost and stash it under a tarp or lid right away, but don’t bother trying to turn partially frozen material since it will compact and stall; something worth pondering, large 3×3×3 ft piles often stay active so you can wait and only stir once the core has warmed in early spring. Also consider keeping basic lawn care tools nearby so you can manage compost and garden tasks efficiently.
When To Harvest
While winter can make composting feel like waiting for a slow-motion show, you’ve got to resist the urge to pry open a frozen pile just to see what’s inside, because exposing the warm core to cold air can drop temperatures and shut down microbial work until spring thaw; instead, only harvest fully cooled, finished compost from small bins or tumblers to free space, especially before adding more winter materials that could otherwise get soggy and compacted. Heading into the how-to: check for dark, crumbly texture and earthy smell, not the calendar. If the center still seems warm, don’t turn the pile, leave it. Now, we may consider this — remove only mature compost, stash it dry, and wait to turn until thaw when microbes can stay warm enough. Also, having the right tools and basic lawn care supplies on hand makes winter compost management easier and keeps your property tidy.
Avoid Turning In Winter
You’ve waited through the slow months and you can be keen to check the pile, but don’t yank open a steaming center or flip a warm bin just to satisfy curiosity, because exposing that insulated core to cold air will drop temperatures and put microbial work on hold until things thaw out; instead, leave any actively warm, steaming, or above-freezing center alone so the microbes can keep going, and only harvest from small bins or tumblers when the compost is clearly finished — dark, crumbly, and smelling like earth, with the original materials gone. Now, we may contemplate this: don’t turn in winter. Insulate instead, add leaves or a tarp, and save major mixing for spring. Something to ponder: harvest finished compost, don’t disturb active heat, trust the process.
Assess Compost Maturity
If you want usable compost by spring, start by learning to tell finished material from active, heat-producing piles, because turning at the wrong time will stall decomposition and leave you with a mess to babysit. Step 1: check appearance and smell — finished compost is dark, crumbly, earthy-smelling, original bits gone; harvest it, don’t turn the compost pile again. Step 2: test moisture and heat — squeeze for damp-not-dripping, use a jar or thermometer; if the interior will stay warm above freezing, wait until thaw to disturb it. Now, we may contemplate this: don’t flip frozen or near-frozen masses, you’ll pull heat out and stop microbes. Something to ponder: small tumblers fill fast, so harvest mature compost to make room.
What to Avoid in Winter (Invasives, Wood Ash, Composting Near Water)
Now, here’s what to do: don’t toss invasive plants, seed heads, or runners into your winter pile, because the cold slows decomposition and those bits often survive to pop up next spring. Something to ponder: limit wood ash, since too much raises pH and kills the microbes you need, and keep the pile several meters from streams or ditches to avoid nutrient- and microbe-rich runoff when things thaw. If you’ve been lazy about hot composting for weedy material in the past, own it—either heat-treat or bag and dispose of problem plants, don’t just rely on a cold pile to fix the mess.
Avoid Invasive Plants
Keep a sharp eye on what goes into your winter pile, because cold composting often preserves, rather than kills, invasive plants and their seeds. Now, we may ponder this: don’t avoid adding invasive material by accident—bindweed, knotweed, horsetail, ivy, garlic mustard and seedheads will often survive unless you hot-compost at >130–150°F. If you’ve tossed whole bulbs, tubers or rhizomes before, I’ve been there; chop them fine and hot-compost or discard via municipal green‑waste. Something to ponder: don’t add yard waste with viable weed seeds in fall or winter unless your pile reliably reaches thermophilic temps for days. Do this, not that—keep invasives out, protect your community plots and nearby waterways from spreading fragments.
Limit Wood Ash Use
Limit the amount of wood ash you add to your winter compost, because a little goes a long way and dumping heaps of it will really mess with the pile’s chemistry. Step 1 — remember the problem: ash raises alkalinity, and that can push your pile pH above the neutral band most microbes like, so decomposition stalls. Now, we might take into account this: sprinkle only a thin dusting, mix it well into the center, don’t heap it on top. Step 2 — do this, not that: don’t toss in large bags or burn through regrets; it’ll inhibit activity. Something to ponder — store ash covered, keep it separate from compost and water, or neutralize and test soil before using in spring. You’ll learn; we all have messy piles.
Keep Away From Water
When you’re placing or tending a winter compost pile, think about water first — it’s easy to underestimate how much trouble a thaw can cause, and I’ve learned that the hard way. Heading into winter, avoid locating piles within 10–20 feet of streams, ponds, ditches, or upslope of wells, because thawing creates nutrient- and pathogen-rich runoff that can harm waterways and drinking sources. Now, we may take into account this: don’t toss invasive plants or seed heads into winter piles, they often survive cold and spread. Something to weigh, don’t dump truckloads of wood ash either — it can raise pH and slow microbes. If you must compost nearby, use a lined, contained system, balance carbon and nitrogen, and cover piles to limit leachate.
Some Questions Answered
Does Compost Break Down in Winter?
Yes, it keeps breaking down, even when you think it’s stopped. You’ll still see worm activity near warm edges, and layering methods plus a mulch cover help trap heat, so microbes keep working. Now, we may take into account this: don’t turn the pile in deep cold, you’ll lose heat; instead add layers and insulate. Something to keep in mind: I’ve shredded my patience (and some leaves) before, so be patient, you’ll get usable compost.
At What Temperature Does Composting Stop?
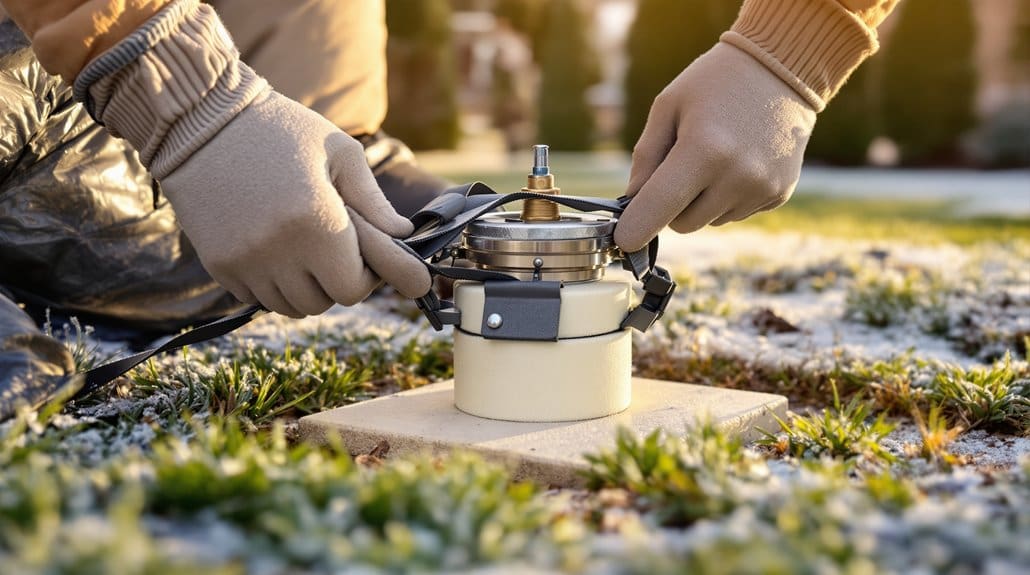
Composting effectively stops once materials freeze, around 0°C (32°F), because microbes enter microbial dormancy; some psychrophiles still inch along near freezing, but activity’s negligible. Now, we may contemplate this: use insulation strategies, add bulky carbon, and monitor with temperature monitoring to keep cores above freezing. Something worth noting: build a bigger, denser pile, don’t skimp on greens, and admit you probably underestimated winter chills once.
Does Decomposition Happen in Winter?
Yes — decomposition keeps happening in winter, it just slows as microbes enter microbial dormancy and cold‑adapted ones keep working; big, insulated piles, or snow insulation, often stay warm enough inside, while small piles can form anaerobic pockets that smell and stall. Now, do this: make your pile bigger, add nitrogen, turn occasionally. Something to contemplate: don’t expect thermophilic heat unless you build and manage for it.
How Cold Is Too Cold for Compost?
Too cold is when the core freezes around 32°F (0°C); below that, microbes mostly stop. Now, we may contemplate this: insulate with straw, finished compost, or a tarp, pick material selection that favors smaller, mixed particles so warmth holds, and use temperature monitoring with a long probe to check the center. Something to ponder: don’t turn a marginal pile, you’ll lose heat—been there, learned that the hard way.