Why test in January? Now’s ideal because plants are dormant and recent fertilizer or uptake won’t hide true pH and nutrient reserves, so you get a clear baseline for lime and amendments. One thing to ponder: don’t sample frozen or waterlogged soil—wait until it’s workable. Here’s the thing—you’ll save money and protect waterways by targeting needs, and you can spread lime and compost in time for spring. Keep going and you’ll get practical sampling and amendment steps.
Some Key Points
- January sampling captures true baseline pH and nutrient reserves because plants are dormant and recent fertilizer effects are minimal.
- Labs give reliable P, K, Ca, Mg, micronutrient, and pH results from composite samples taken now.
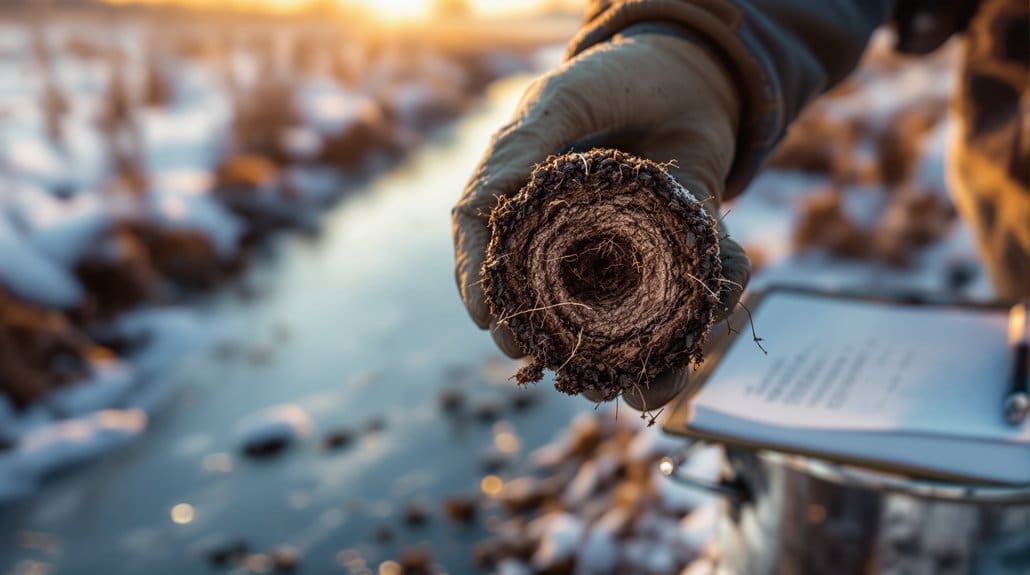
- Collect 8–15 cores per management zone (lawns 4", beds 6–8") in a W pattern for representative results.
- Apply lime in winter if pH is low, and add compost or mulch now so amendments begin working before spring.
- Testing in January prevents unnecessary fertilizer purchases and reduces nutrient runoff by enabling targeted applications.
Why January Gives the Most Useful Baseline for Soil Nutrients and pH
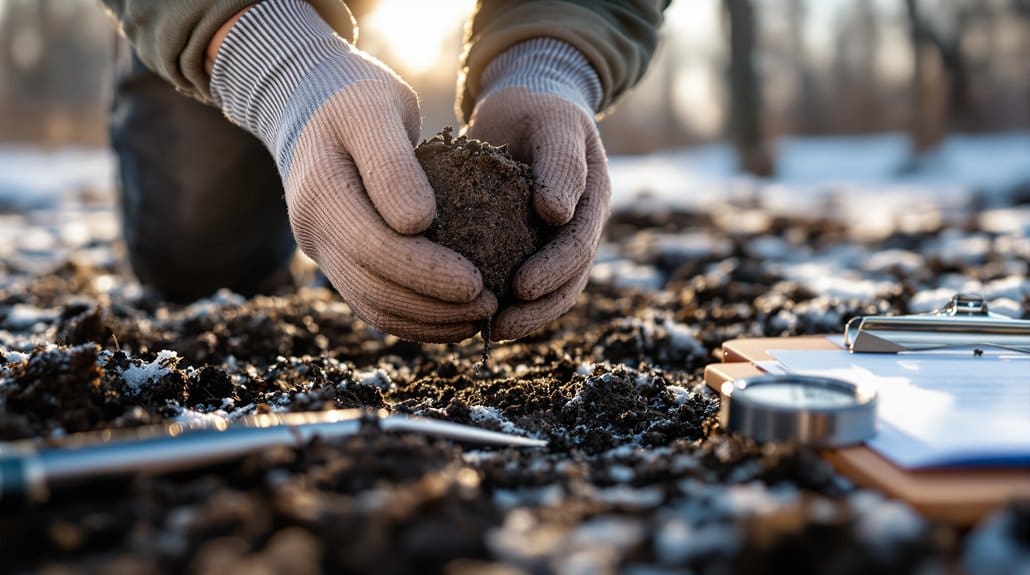
Usually, you’ll get the cleanest, most useful snapshot of your soil by testing in January, and here’s why you should do it now: with most plants dormant and no recent fertilizer or heavy uptake skewing numbers, the lab sees the soil’s baseline pH and nutrient reserves instead of a moving target. Now, you’ll want to treat soil testing as a friendly checkup, not a guess; January captures true nutrient levels and soil pH, so recommendations aren’t chasing symptoms. One thing to bear in mind: follow a sensible sampling protocol so the lab gets a representative mix, and don’t sample frozen or soggy ground — been there, wasted a test. Here’s the thing, liming time starts in winter, so act now. Consider keeping basic tools like a soil probe, scoop, and pH test kits on hand to get accurate results and simplify future sampling.
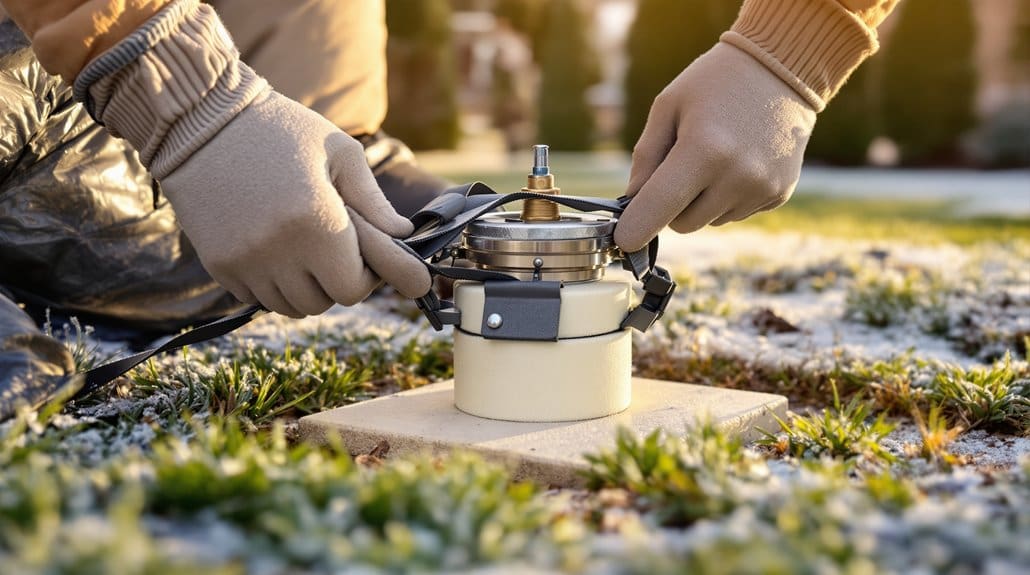
How to Collect Accurate January Soil Samples (Depths, Spacing, and Freezing Rules)
Now’s the time to get hands-on with sampling, because if you skip the right depths and spacing you’ll wind up with a misleading report — trust me, I’ve wasted a perfectly good test on a soggy edge once. Step 1, pick areas that get the same care, don’t mix front yard and vegetable garden, collect 8–15 soil samples per distinct area using a soil probe or trowel, walk a W or zigzag so the combined sample represents the whole. One thing worth thinking about: for lawns sample about 4 inches deep, for beds 6–8 inches to hit the active root zone. Here’s the thing, don’t sample when frozen or waterlogged; wait until thawed and workable, then combine cores, remove debris, bag, label, submit. Lawn care often needs proper soil pH adjustment, so consider testing for soil pH before applying lime or other amendments.
Which Tests to Run Now: Lab vs. DIY and How to Interpret Key Results
You’ve already done the hard part collecting a solid composite sample, so here’s what to do now: send that sample to a reputable lab for a full nutrient panel and pH, and use DIY tools only for quick spot checks or while you wait. Step 1 — do this: pick a state extension or commercial lab for a thorough lab test; they’ll report P (phosphorus), K (potassium), Ca, Mg, micronutrients and crop‑specific recommendations. One thing to weigh — do not rely on a DIY kit for precise P and K; those 3‑in‑1 meters are fine for fast pH or moisture checks. Here’s the thing: include 8–15 soil cores so results truly represent your area, read pH first, then follow the lab’s categories and advice. For routine home lawn care, also keep a small set of essential tools on hand for sample collection and follow‑up maintenance, like a soil probe, spreader, and basic hand tools for minor amendments and repairs (essential tools).
How to Act on Results Before Spring: Timing Lime, Compost, Mulch, and Fertilizer Plans
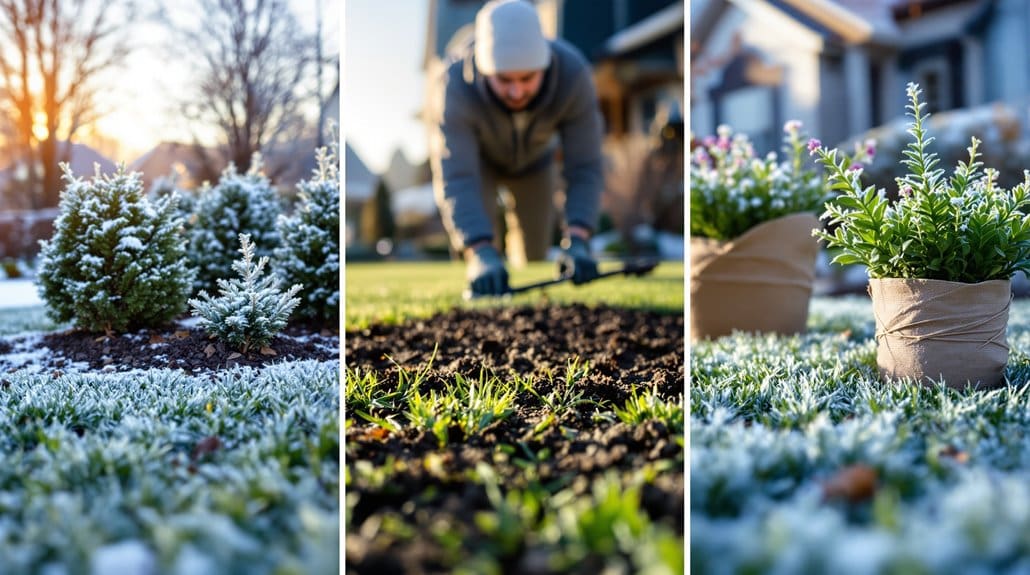
If your soil test just came back, treat it like a map—follow it, don’t stare at it in confusion like I did my first year—because timing matters: apply lime now if your pH is below the target (most gardens and turf like about 6.0–7.0), spread a 1–3 inch layer of finished compost over beds immediately to feed microbes and improve texture without digging, and put down mulch to cut erosion and let organic matter start working over winter; one thing to keep in mind is holding off on heavy synthetic nitrogen while the ground’s frozen or until green-up, but go ahead and plan phosphorus and potassium applications to match your lab’s rates in early spring when plants are actively growing, and if the report flags compaction, schedule aeration or deep‑tine work for early spring so mechanical fixes and any topdressing can settle before the main growing season. Consider also checking topsoil basics to choose the right tools and materials for your lawn care projects.
How Soil Testing in January Saves Money and Protects Water
You already planned lime, compost, and mulch from your January test, and here’s what comes next: testing now saves you money and keeps nutrients out of the creek. Now, do this — use the soil testing report to target soil nutrients, don’t guess with blanket fertilizer. One thing worth pondering: pH levels matter, and applying lime in January gives it time to work so you won’t reapply later. Here’s the thing, we’ve all overdone fertilizer before; stop wasting cash and polluting streams. Follow lab recommendations, time applications to avoid thaw and heavy rain, and you’ll reduce fertilizer costs while cutting nutrient runoff. It’s a small fee for a big payoff, and you’ll feel good doing it right. Consider using slow-release fertilizers to maintain steady nutrient levels and reduce the need for frequent applications.
Some Questions Answered
What Time of Year Is Best for Soil Testing?
Best time is late winter to early spring, when you’ll do spring preparation and get a clear baseline. Satirically, you’ll thank frozen ground for forcing patience. Now, take core collection for depth sampling (4" lawn, 6–8" garden), space samples for field variability, and decide testing frequency—yearly for gardens, less for lawns. One thing worth considering: use extension labs for lab turnaround or DIY kits if needed, but don’t mix areas.
Can You Do Soil Testing in the Winter?
Yes — you can test soil in winter as long as the frozen ground isn’t an issue. Now, use proper sampling techniques, grab a core sampler, collect multiple cores, mix them in a clean bucket, and mind equipment care so samples stay true. One thing to keep in mind: container gardens and indoor plants need shallower cores; temperature effects on results are minimal if plants are dormant. Here’s the thing: don’t sample right after fresh manure.
What Time of Year Should I Amend Soil?
You should amend soil in late winter to early spring, so seasonal amendments like lime have time for ph adjustment and compost incorporation before root development starts. Now, test soil in winter, gather materials, and apply lime or organic matter; one thing to ponder is delaying heavy nitrogen until growth begins. Here’s the thing: mulch rejuvenation and feeding soil microbes now saves spring panic — been there, I’ve overfertilized, don’t do that.
When to Soil Sample?
When should you soil sample? Now, in the dormant season, before spring work begins. Step 1 — Do this, not that: take depth sampling (4" for lawns, 6–8" for beds), use spot sampling or grid sampling depending on size, walk a W-pattern, combine 8–15 cores per area. One thing to keep in mind: sample timing with crop rotation and avoid recent fertilizer. Here’s the thing: store samples cool, pick your lab selection wisely.