Start by walking your yard with a clipboard, sketching sun and shade zones, bare patches, and high-traffic routes so you can label exact areas to test, aerate, dethatch, overseed, or sod, then collect 10–20 soil cores by zone for a lab test to guide lime and fertilizer. Prioritize “must/should/nice,” rent tools if needed, overseed after aeration at 2–3 lb/1,000 sq ft, keep seed moist for germination, and follow a spring timeline for lasting results—more specifics follow.
Some Key Takeaways
- Walk the yard to map square footage, sun/shade zones, bare patches, and high-traffic routes.
- Take 10–20 soil cores by zone, send composite samples to extension, and follow pH/nutrient recommendations.
- Label areas on the map for dethatch, core-aerate, overseed, or sod and set seed rates/timelines.
- Prioritize tasks into “must,” “should,” and “nice-to-have” and set measurable goals (e.g., >90% turf cover).
- Schedule early- to mid-spring soil tests, aeration/dethatching, overseeding, and watering to ensure successful germination.
Map Your Lawn and Set Clear Renovation Goals
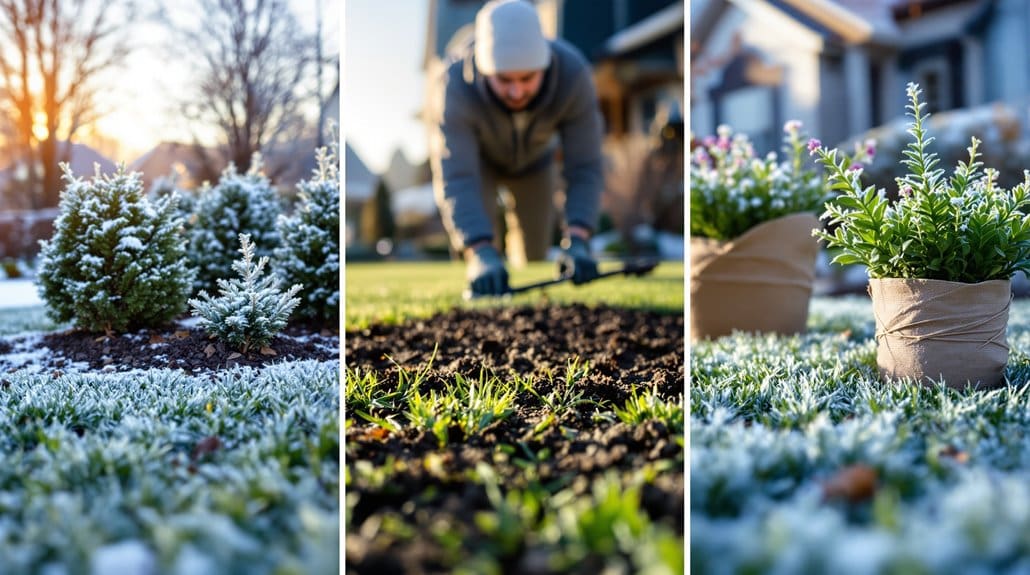
When you walk your yard with a clipboard and a little patience, you’re doing the single most useful thing for a successful renovation: you’ll see exactly where the lawn is thin, where sun and shade shift during the day, and where foot traffic creates compacted, worn paths, and that map becomes the blueprint for every decision you make next. Now sketch a lawn map showing square footage, sun/shade zones, bare patches and high-traffic routes, label spots for dethatch or aerate, and note where you’ll overseed or sod. Take a soil test by zone, set measurable goals—reduce bare patches to under 10% or reach 90% turf cover—pick seed rate and timeline, and assign “must,” “should,” and “nice-to-have” priorities. Consider renting or buying a home core aerator to make aeration faster and more effective.
Test Soil, Identify Problem Zones, and Choose Grass Types
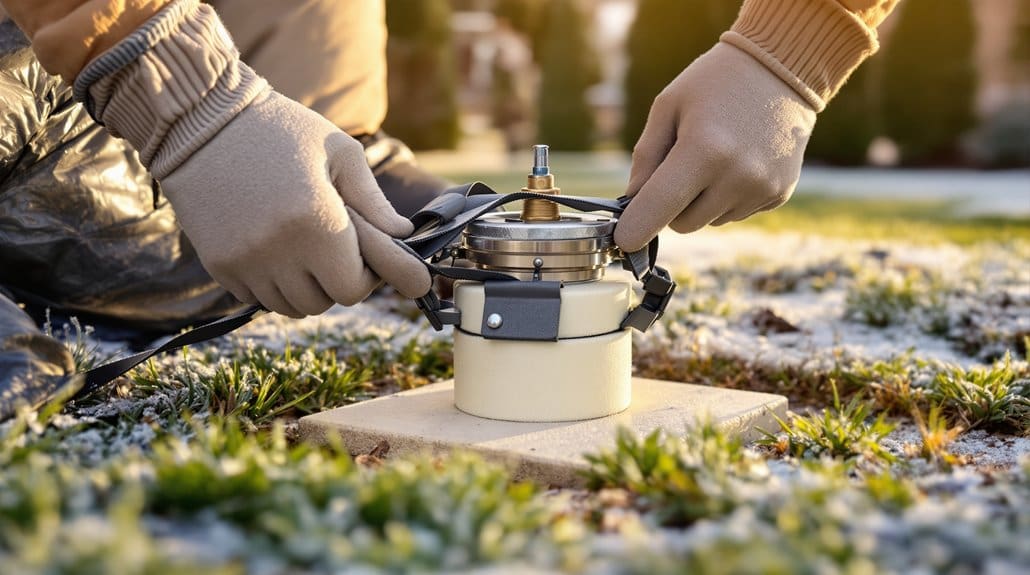
Why start with the soil and a careful walk-through? You’ll collect a proper soil sample by taking 10–20 cores at 3–4 inches, mix and send the dried composite to your local extension for a soil test, then use their pH and nutrient advice to guide lime and P/K choices. Next, walk slowly to map problem zones—mark compacted areas, bare spots, drainage low spots, and shade patterns—this is where core aeration, topdress and targeted amendments belong. Choose grass types suited to each micro-site, then overseed at 2–3 lb/1,000 sq ft with certified seed. The key is preparing seeded areas with 3–6 inch core aeration, light topdress so seeds get firm seed-to-soil contact, and steady light watering. Consider using essential tools like a reliable pH test kit to keep soil conditions on track during renovation.
Build a Practical Renovation Timeline: Early to Late Spring Tasks
You’ve already tested the soil, mapped trouble spots, and picked the right seed, so now you’ll want a clear, step-by-step timeline that tells you what to do and when, to turn that prep work into visible results. In early spring, walk the lawn, take 10–20 cores for a soil test, note thatch and compaction, order seed or sod, and rent equipment so you’re ready. Mid‑spring is where you core‑aerate and dethatch, create a fine seedbed, overseed at recommended rates, and keep the seedbed moist for germination. Late spring you’ll follow soil test fertilizer guidance, shift to deeper irrigation as seedlings establish, and begin mowing. Keep monitoring through summer, plan fall preparations, and don’t hesitate to spot‑treat lingering trouble. Consider renting or buying a lawn aerator to relieve compaction and improve root growth by increasing oxygen and water penetration lawn aerator basics.
Select Methods, Tools, and Materials: Dethatch, Aerate, Seed or Sod
Start by matching the right method to each problem spot: if you’ve got a spongy, straw‑like layer more than about 1/2 inch thick, dethatch it with a spring‑tined rake or a vertical mower to clear the barrier that’s keeping water and nutrients from reaching roots; if the soil’s hard or worn from foot traffic, core‑aerate those areas with a hollow‑tine machine that pulls 3– to 6‑inch plugs about 2–6 inches apart to open up air and water pathways. Now overseed cool‑season lawns right after aeration, using a broadcast spreader for even coverage so seed-to-soil contact improves, then topdress lightly with 1/4–1/2 inch compost to protect seed, aid germination and add organic matter, keeping consistent moisture until seedlings establish. Choose a dethatcher or aerator that fits your yard size and needs to get the best results, especially selecting equipment recommended for homeowner use.
Watering, Weed Control, and Aftercare Plans to Secure Establishment
You've cleared thatch, opened the soil, and put seed where it can actually touch dirt, so now it's time to care for what you've started: watering, watching for weeds, and protecting young grass until it can take a little abuse. Now, keep grass seed consistently moist with light irrigations two to four times daily, or enough to keep the top quarter inch damp, shifting to deeper half‑inch waterings every 2–3 days as root growth begins. This is where moisture monitoring and your irrigation system earn their keep, and where you avoid pre‑emergent herbicide on seeded areas, using spot treatments or hand‑pulling later instead. Apply a starter fertilizer per your soil test, follow with slow‑release nitrogen, limit traffic, and overseed thin spots after aeration. Consider adding a reliable moisture meter to help monitor soil moisture and optimize watering.
Some Questions Answered
What Is the 1/3 Rule in Lawn Care?
The 1/3 rule says you should never cut more than one‑third of your grass blade height at once, so when your mower height's set higher you mow more safely, now keep blade sharpness up, and adjust blades gradually. This reduces shock to root depth, helps grass clippings break down, aids leaf removal timing, supports weed control and thatch management, improves shade tolerance and lets you lower watering frequency, so follow it and expect stronger, thicker turf.
Can You Do a Lawn Renovation in the Spring?
Yes, you can do a lawn renovation in spring, and you’ll start by soil testing to guide soil amendment and fertilizer timing, then rent equipment for dethatch removal and aeration, this is where overseeding techniques and seed varieties matter so you match grass to your site, now set a watering schedule to keep seed moist, integrate weed control and pest management as seedlings establish, and you’ll see steady improvement.
How Do You Create a Renovation Project Plan?
You start by ordering a soil testing kit, then pick seed selection that matches sunlight and soil, now create a timeline creation that sequences aeration, seeding, and watering, and estimate costs for budget estimation and resource allocation. This is where task sequencing and an equipment checklist guide daily work, you’ll vet contractors with reviews, monitor weather, and check permit research, and you’ll see steady turf improvement when you follow the plan.
What Is the First Thing I Should Put on My Lawn in the Spring?
Start with a soil test, because knowing pH and nutrients guides every next move; now do sun mapping to match seed selection, then do compaction testing and dethatch raking if thatch exceeds about 1/2", this is where core aeration helps. Scout for pests, check irrigation, and topdress or add starter fertilizer only if the test supports it, then overseed, mulch lightly, and use targeted weed spot treatment to protect new seedlings.